When I first started working for myself five years ago, my “office” consisted of a tiny desk shoved into the corner of our 1 bed/1 bath Brooklyn apartment. Although I loved living in Cobble Hill, the view from our second story window that looked out on Atlantic Ave. was far from picturesque. I remember sitting there, sandwiched between the street view window and the corner of our bed, dreaming of the day I’d have a home office that made me feel inspired, calm and creative.
It wasn’t long before we upgraded to a larger 2 bed/2 bath apartment in a different Brooklyn neighborhood and I was able to share an office with my husband. I absolutely LOVED this space with all it’s natural light and colorful decor. I even painted oranges on one of the office walls as a fun project to liven up the space. But despite all of it’s charm, we both still wished that we didn’t have to share the room during all of our working hours.
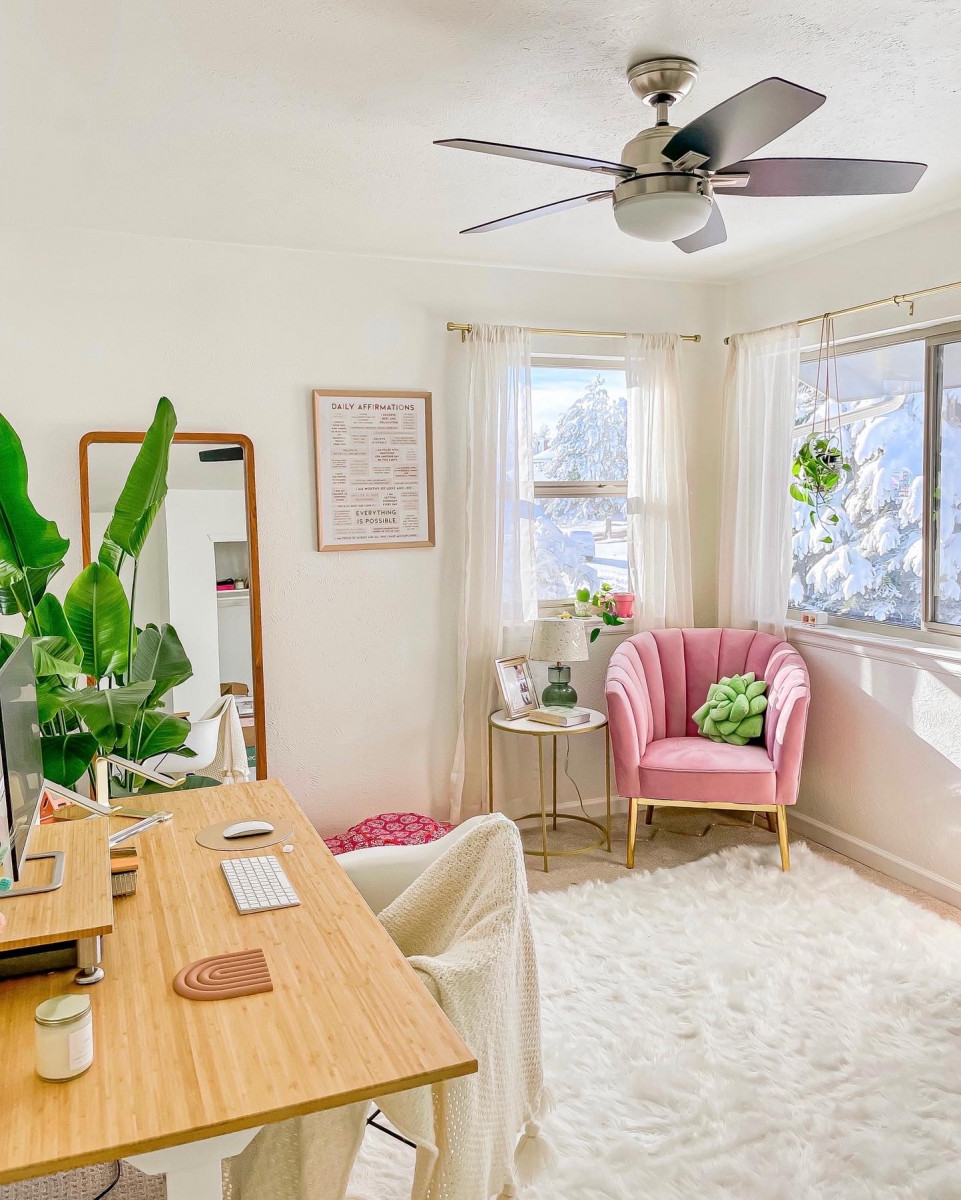
Flash forward another two years and here I am in Denver, Colorado where my husband and I bought our first house. When we saw the two bedrooms upstairs, we knew we would finally have the opportunity to have individual offices… and considering we both work from home full time, this reality has been an absolutely DREAM (and very healthy for our relationship).
I still have a few minor additions I’d like to make to my home office but the majority of the heavy lifting has been done and I’m SO pleased with how it has turned out. It’s a space that I actually look forward to spending time in every day and I can’t wait to share the details and steps with all of you.
STEP 1: PICK THE PAINT
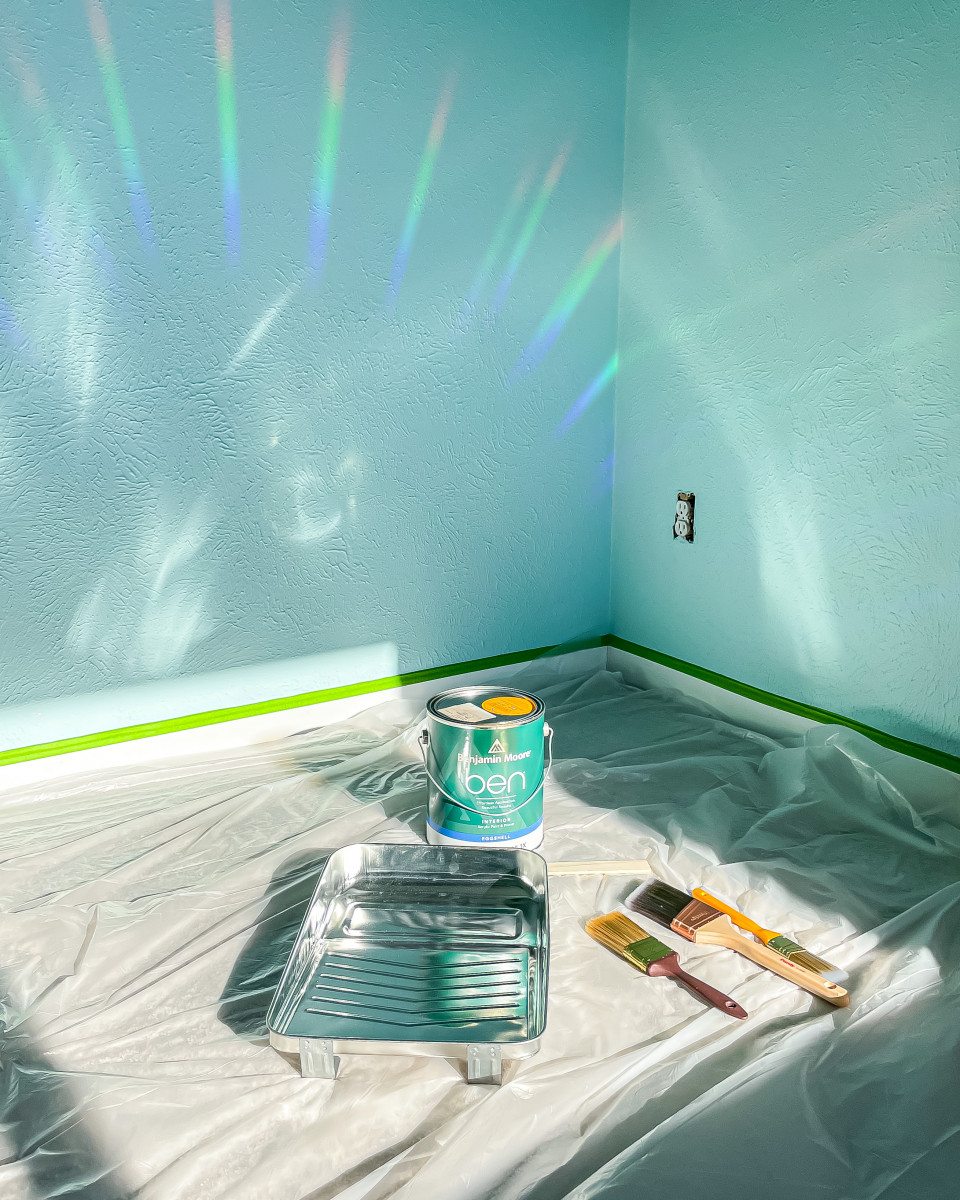
Prior to buying the house, this room used to belong to a teenage girl who painted it a fun shade of teal. As pretty as the color was, it wasn’t my style and really didn’t match the vibe that I was going for. So naturally, the first step in making it my own was to paint the walls.
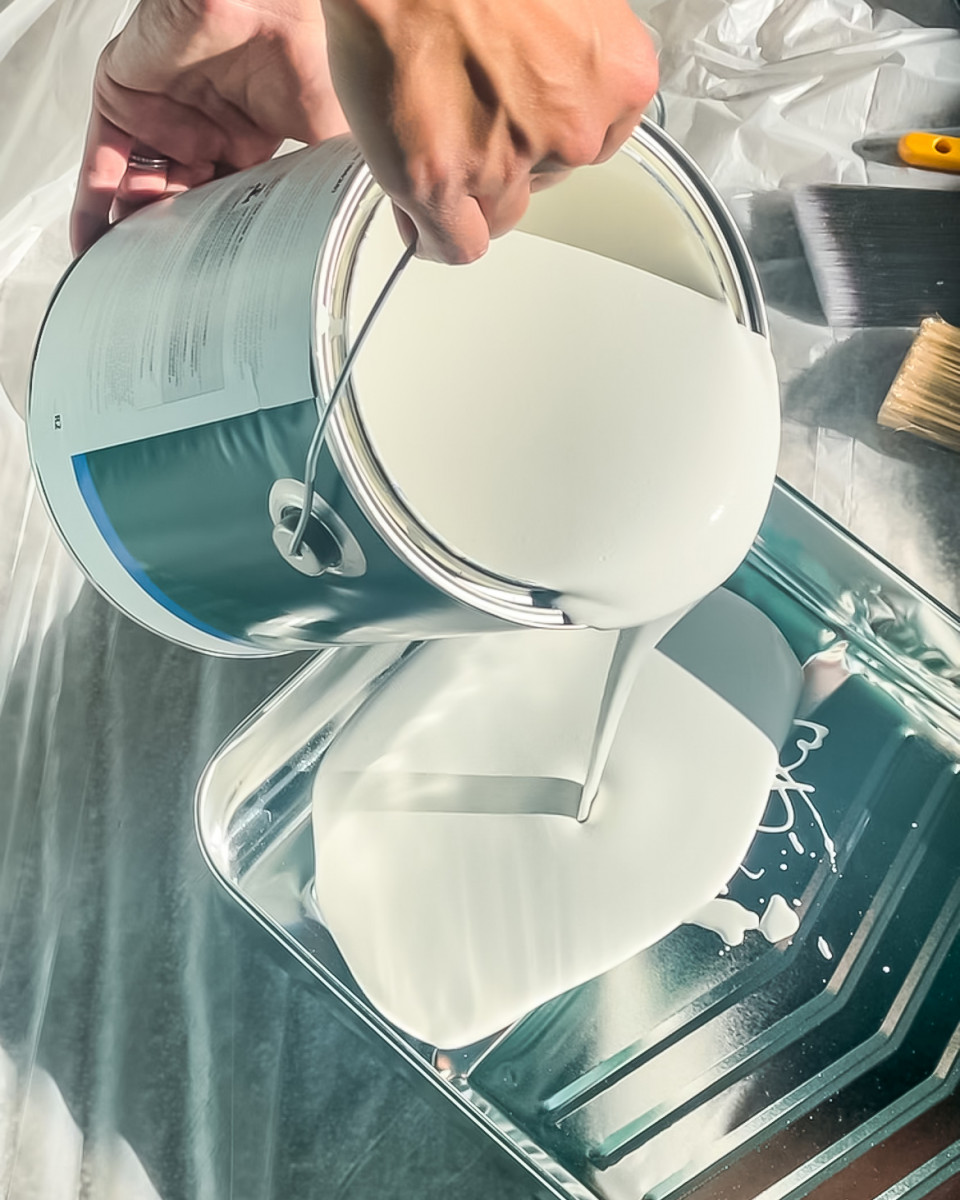
I chose the color White Dove by Benjamin Moore. It’s a soft warm white that reflects the natural light and helps add a light, airy quality to the room. Truthfully, I am quite terrible at painting walls and this project took me much longer than I intended. I’m so glad I powered through it because it was 100% necessary and a great learning experience.
STEP 2: TAKE FULL ADVANTAGE OF THE NATURAL LIGHT
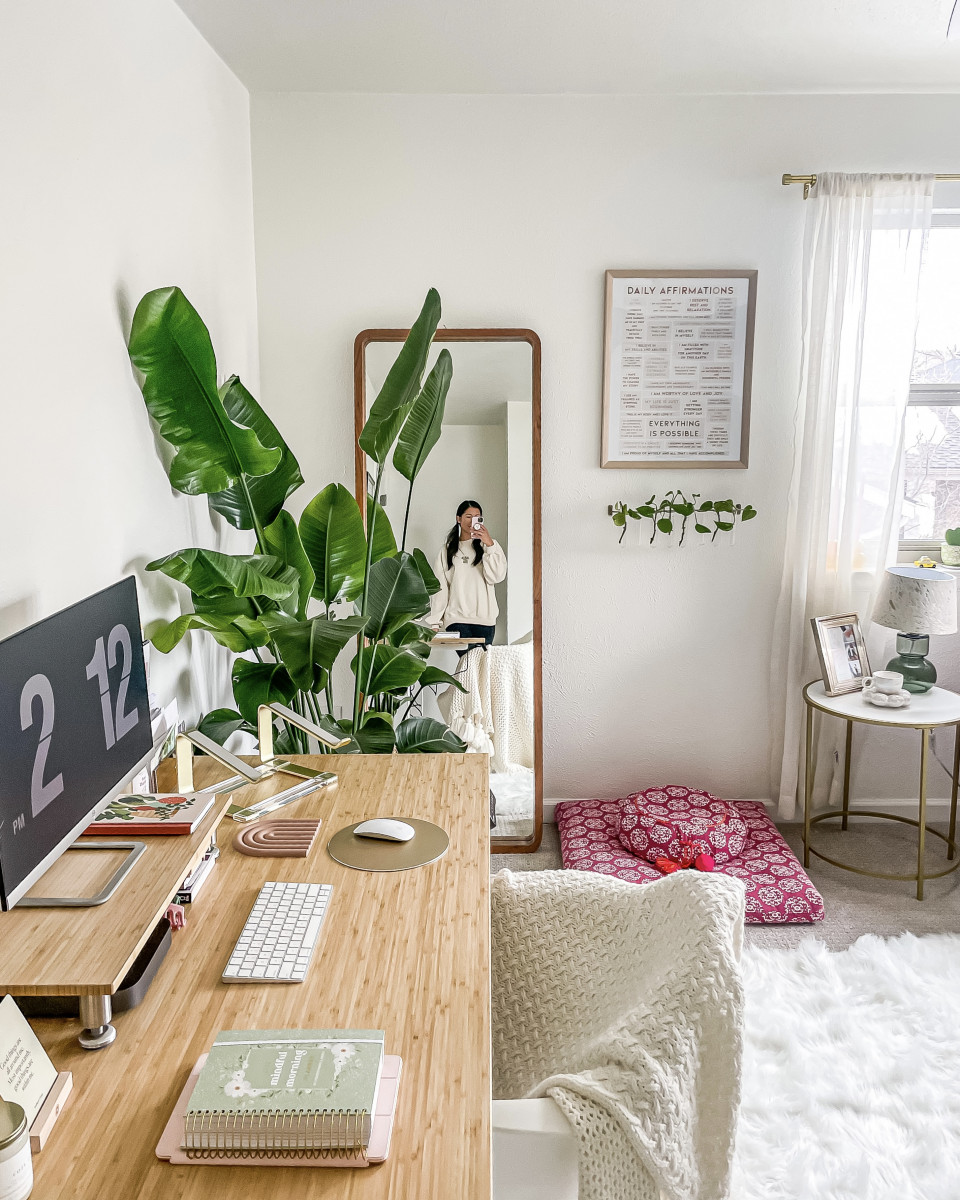
My office is on the second floor of our home and has two South + South West facing windows… which means the room gets A LOT of natural light. In order to maximize this, I took down the thick blinds that covered both windows and opted for very sheer linen curtains from Target. To add a little hint of “glam” I opted for gold curtain rods. This was a super affordable swap and made a world of a difference with how the room feels.
STEP 3: UPGRADE THE DESK
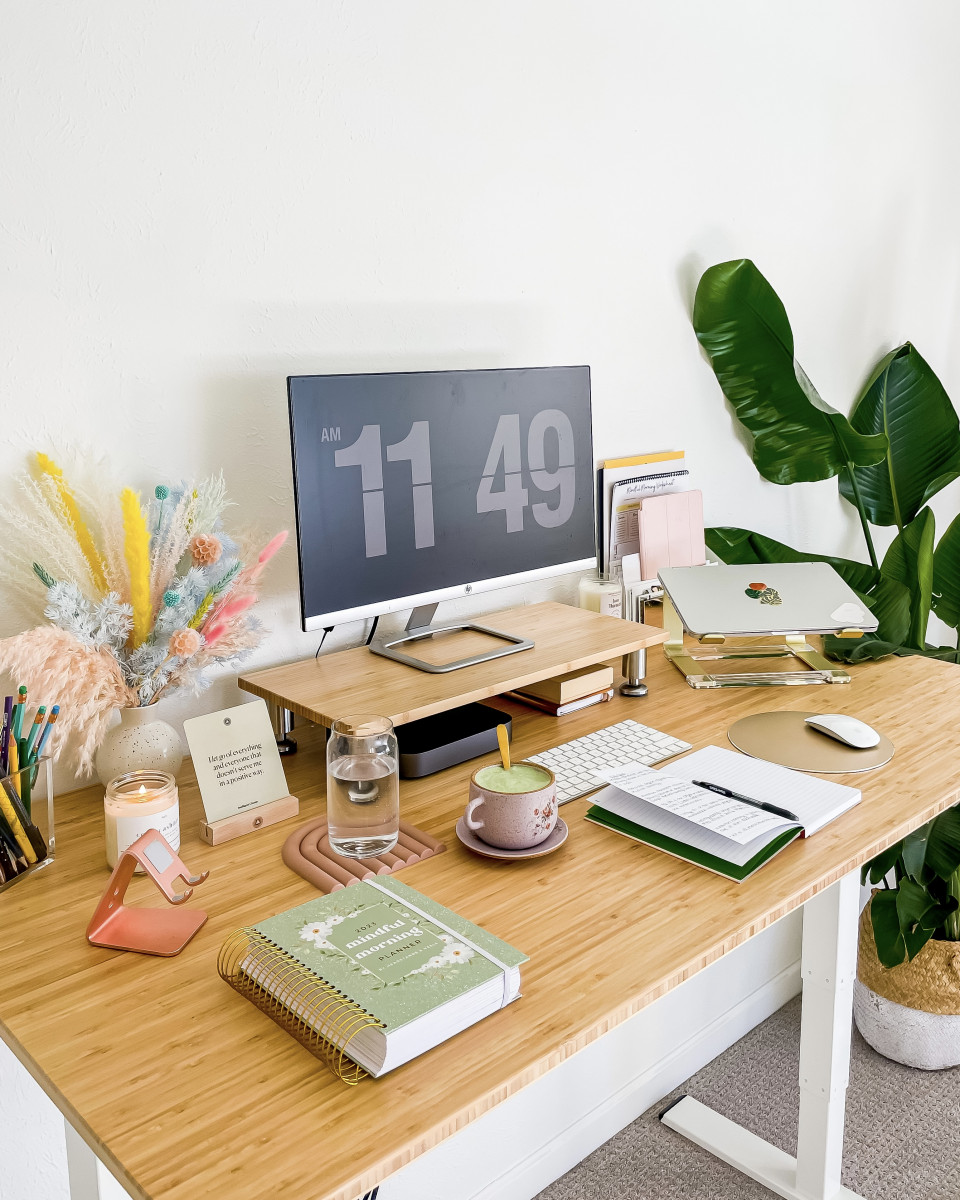
Despite having a large crack in the wood of my small, Cobble Hill era desk, I knew I wasn’t quite ready to part with it. However I’ve been wanting a standing desk for years and decided to take the plunge to get THIS model from Flexispot that I’d been eyeing since 2020. It’s extra wide, a beautiful light wood color and fits perfectly against the main wall of my office. Best decision ever. I would recommend it 100x times over.
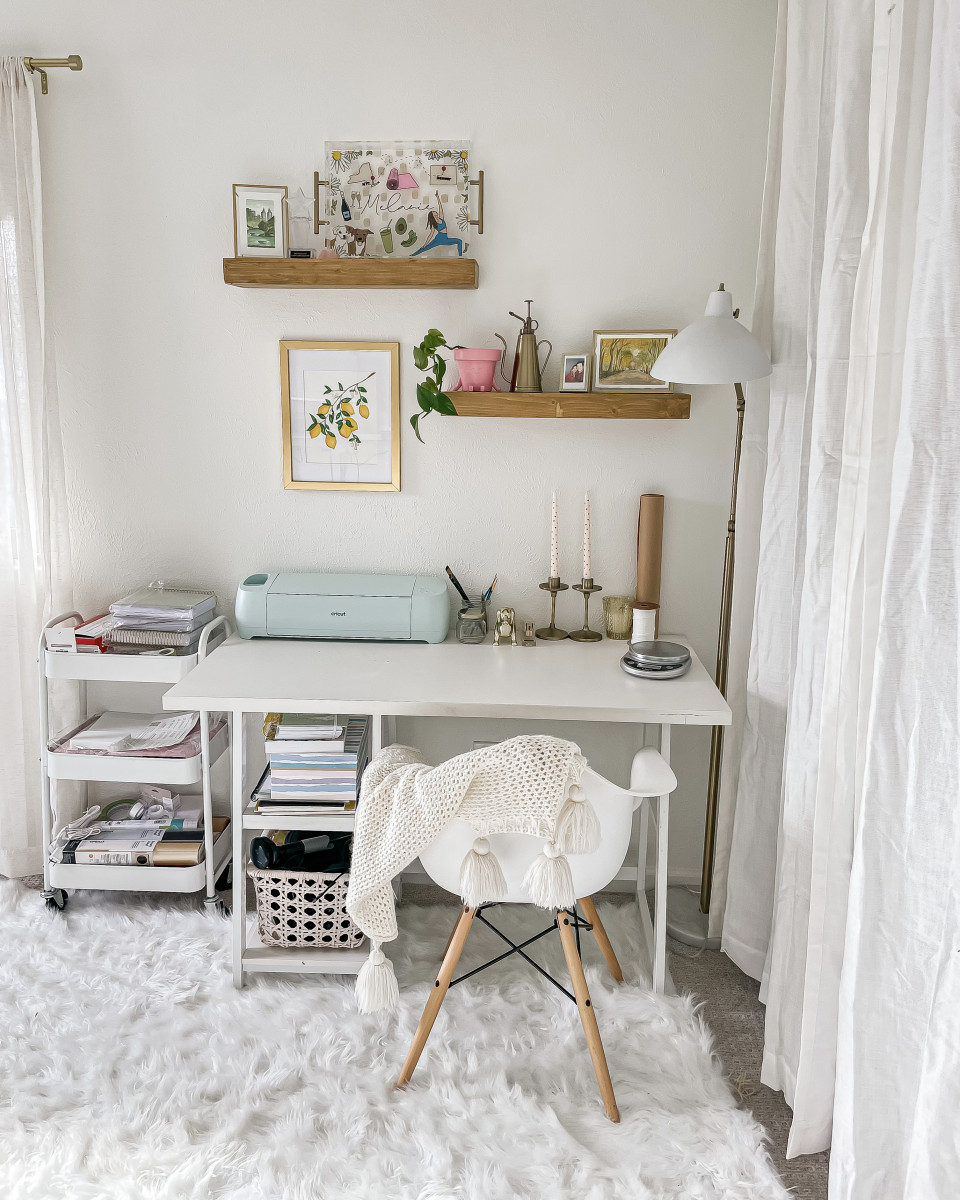
Since I didn’t want to get rid of my other desk, I thought it made total sense to turn it into a little “arts & crafts” station. This way I can get back into painting regularly, play around with my cricut machine, and use it as a place to pack up all my Mindful Morning Planners that I’ve been selling over the past couple months.
STEP 4: CREATE A READING NOOK
As soon as I saw how the windows come together in the far corner of my office I knew it would make for the perfect reading nook. I also love a good pop up of color and thought that a fun, pink scalloped accent chair would look so cute here.
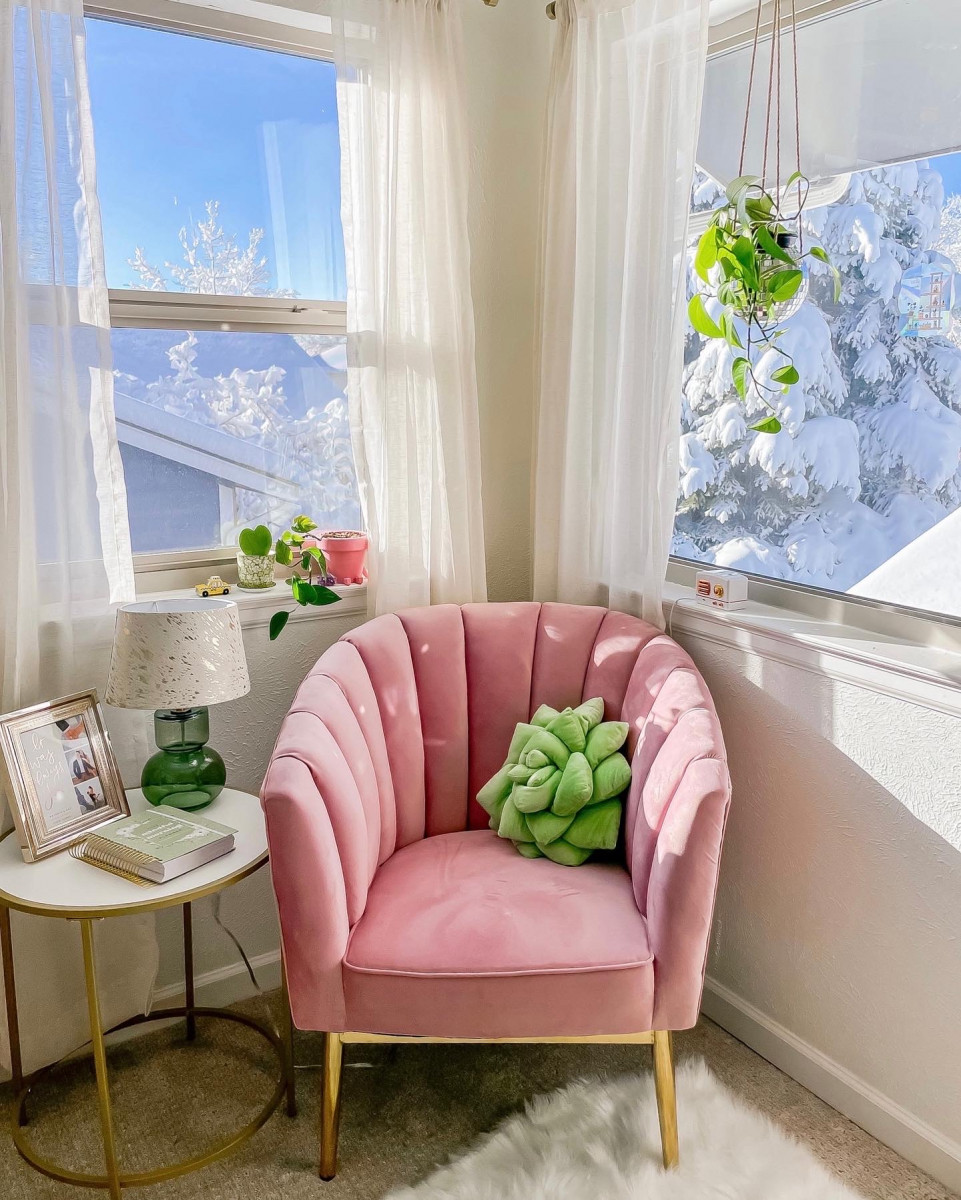
I bought both the chair and the end table from Wayfair since I didn’t want to splurge on anything too fancy for this section. Adding the surrounding accessories has been my favorite part, especially the little succulent pillow.
STEP 5: BRING NATURE INSIDE
To help open up the space even more I added a full length mirror that I found at World Market. Next to it I placed our bird of paradise plant that was previously in our living room (I’m going to try to find a fiddle leaf fig tree for that space later on) and also hung up my favorite Daily Affirmations poster.
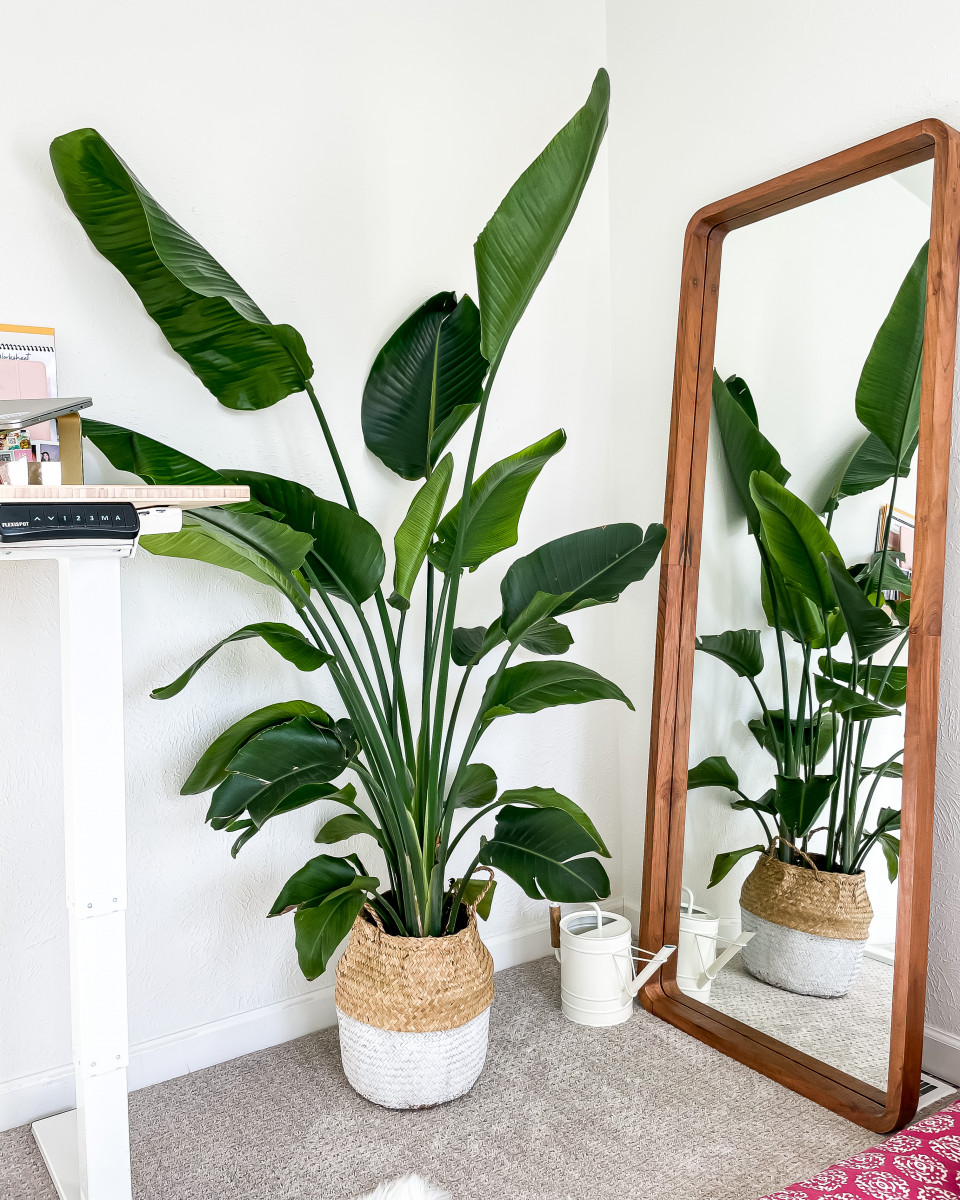
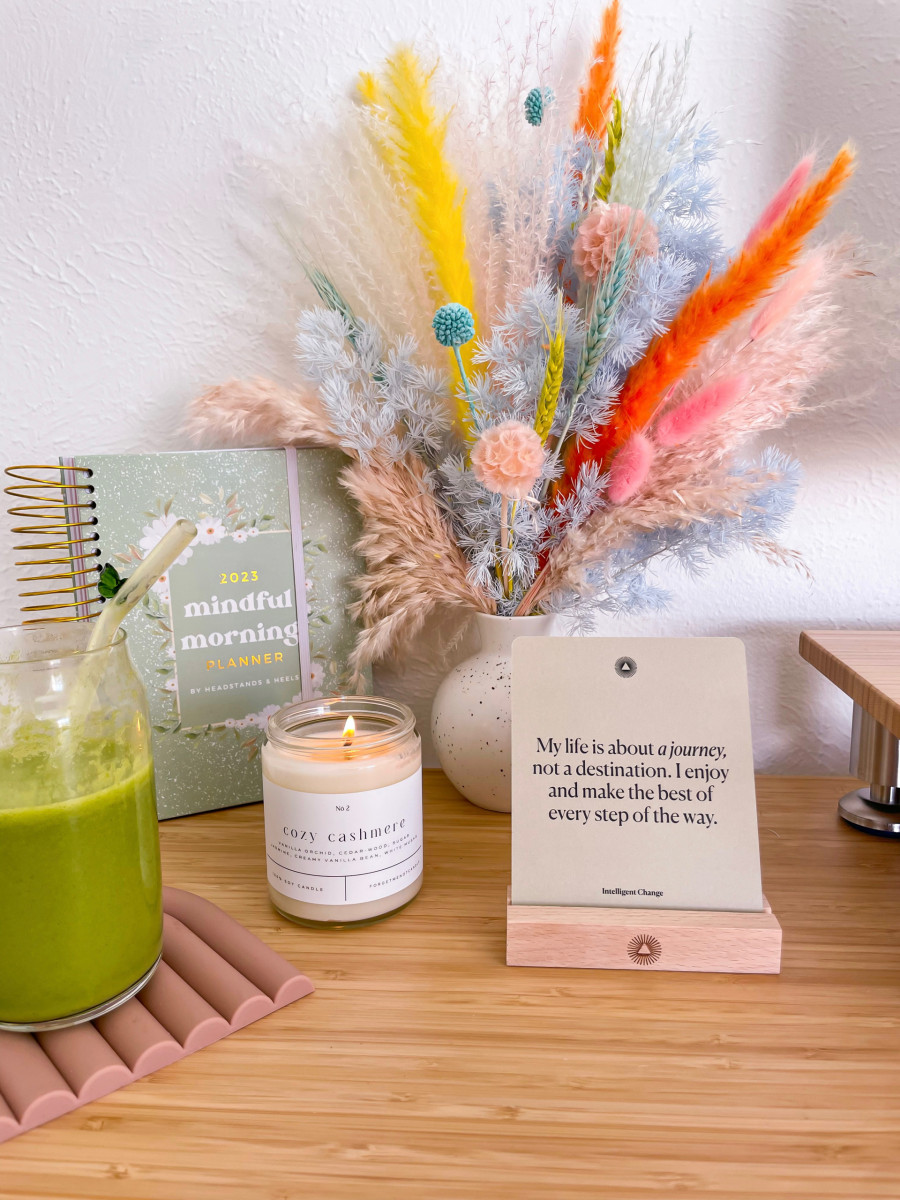
Since it’s no secret that I love plants, I made a point to bring a lot of them into the space with a hanging disco planter, windowsill hoya heart, and a gifted pothos that a friend entrusted to me before she left Denver. On my main desk, I have a colorful dried floral bouquet that I bought at a local boutique off Pearl Street in Platt Park.
STEP 6: THE FINISHING TOUCHES
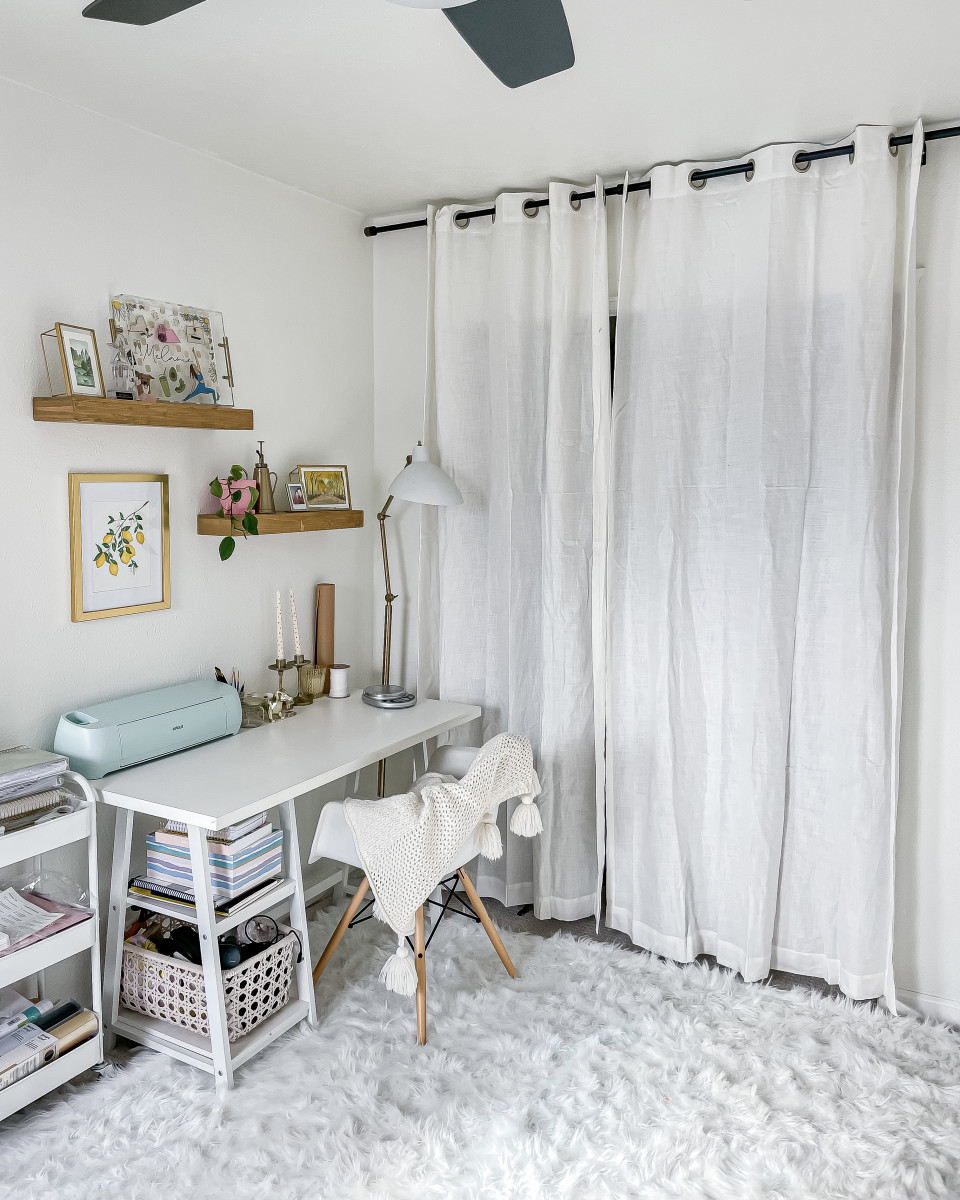
Since it was a bit over budget to rip out the carpet and replace with hardwood, I decided to get a GIANT white faux sheepskin rug for the floor. I love the added texture and that it brightens up the room while hiding this hideous carpet.
When it came to the closet, my husband had helped me removed the doors for painting buuut we ran into some issues putting them back on. So I decided to scrap them and add a curtain from Target instead. I was a bit worried about how this would look but I actually love it!
The last pieces came together by hanging up floating shelves, some art work, and adding a little cart next to the art desk for more organization.
I absolutely love this new space and it feels like a dream to call it my own. I hope that by sharing the decor and design process, it inspires you to give your own home office a little refresh. After all, a little paint and some fun decor additions can really make a world of a difference.
Our next home project will be tackling our “family room” space and I have some ideas for a DIY of our upstairs bathroom. If you’re enjoying see me decorate my new house, follow along and stay tuned for more!


Really lovely; nice work.
Wow! Lovely As A NEW FOLLOWER I APPLAUDE THE UPGRADE. LOOKS LOVELY.