If you frequently attend fitness classes that rely on body weight, you’re probably very familiar with plank pose. Whether you love it or hate it, there’s no denying that it’s a top notch core strengthener! My one issue with plank is that many times a teacher will call it out with absolutely no alignment cues (especially when it’s not a yoga class). This lack of awareness of proper form often leads to droopy hips, sassy backs, bad wrist placement, etc. All of which completely negate the benefits and instead can lead to some major injuries!
When it comes to side plank, I find the added element of balance just makes proper form even more difficult to achieve. Since a few of you asked for more yoga tips, I thought I’d share 3 different variations of side plank that you can try out at home! No matter which one you choose, there are 5 key principles you should have in your mental checklist to make sure you’re doing it correctly.
- Stack wrists directly under shoulders: This protects your delicate joints by taking the stress out of your wrists, elbows and shoulders
- Draw navel to spine: Similar to a traditional plank pose, your core should be actively engaged to protect your lower back
- Lift your hips: Pull your hips up towards the ceiling to help take some of the pressure off your arms and into your core
- Flex your feet: I know plank is all about the core but every muscle should be activated to help with endurance
- Stack your hip bones: Don’t let your hips roll forward or back. Instead, focus on keeping them stacked in a straight line to protect your back
Beginner: Modified Side Plank
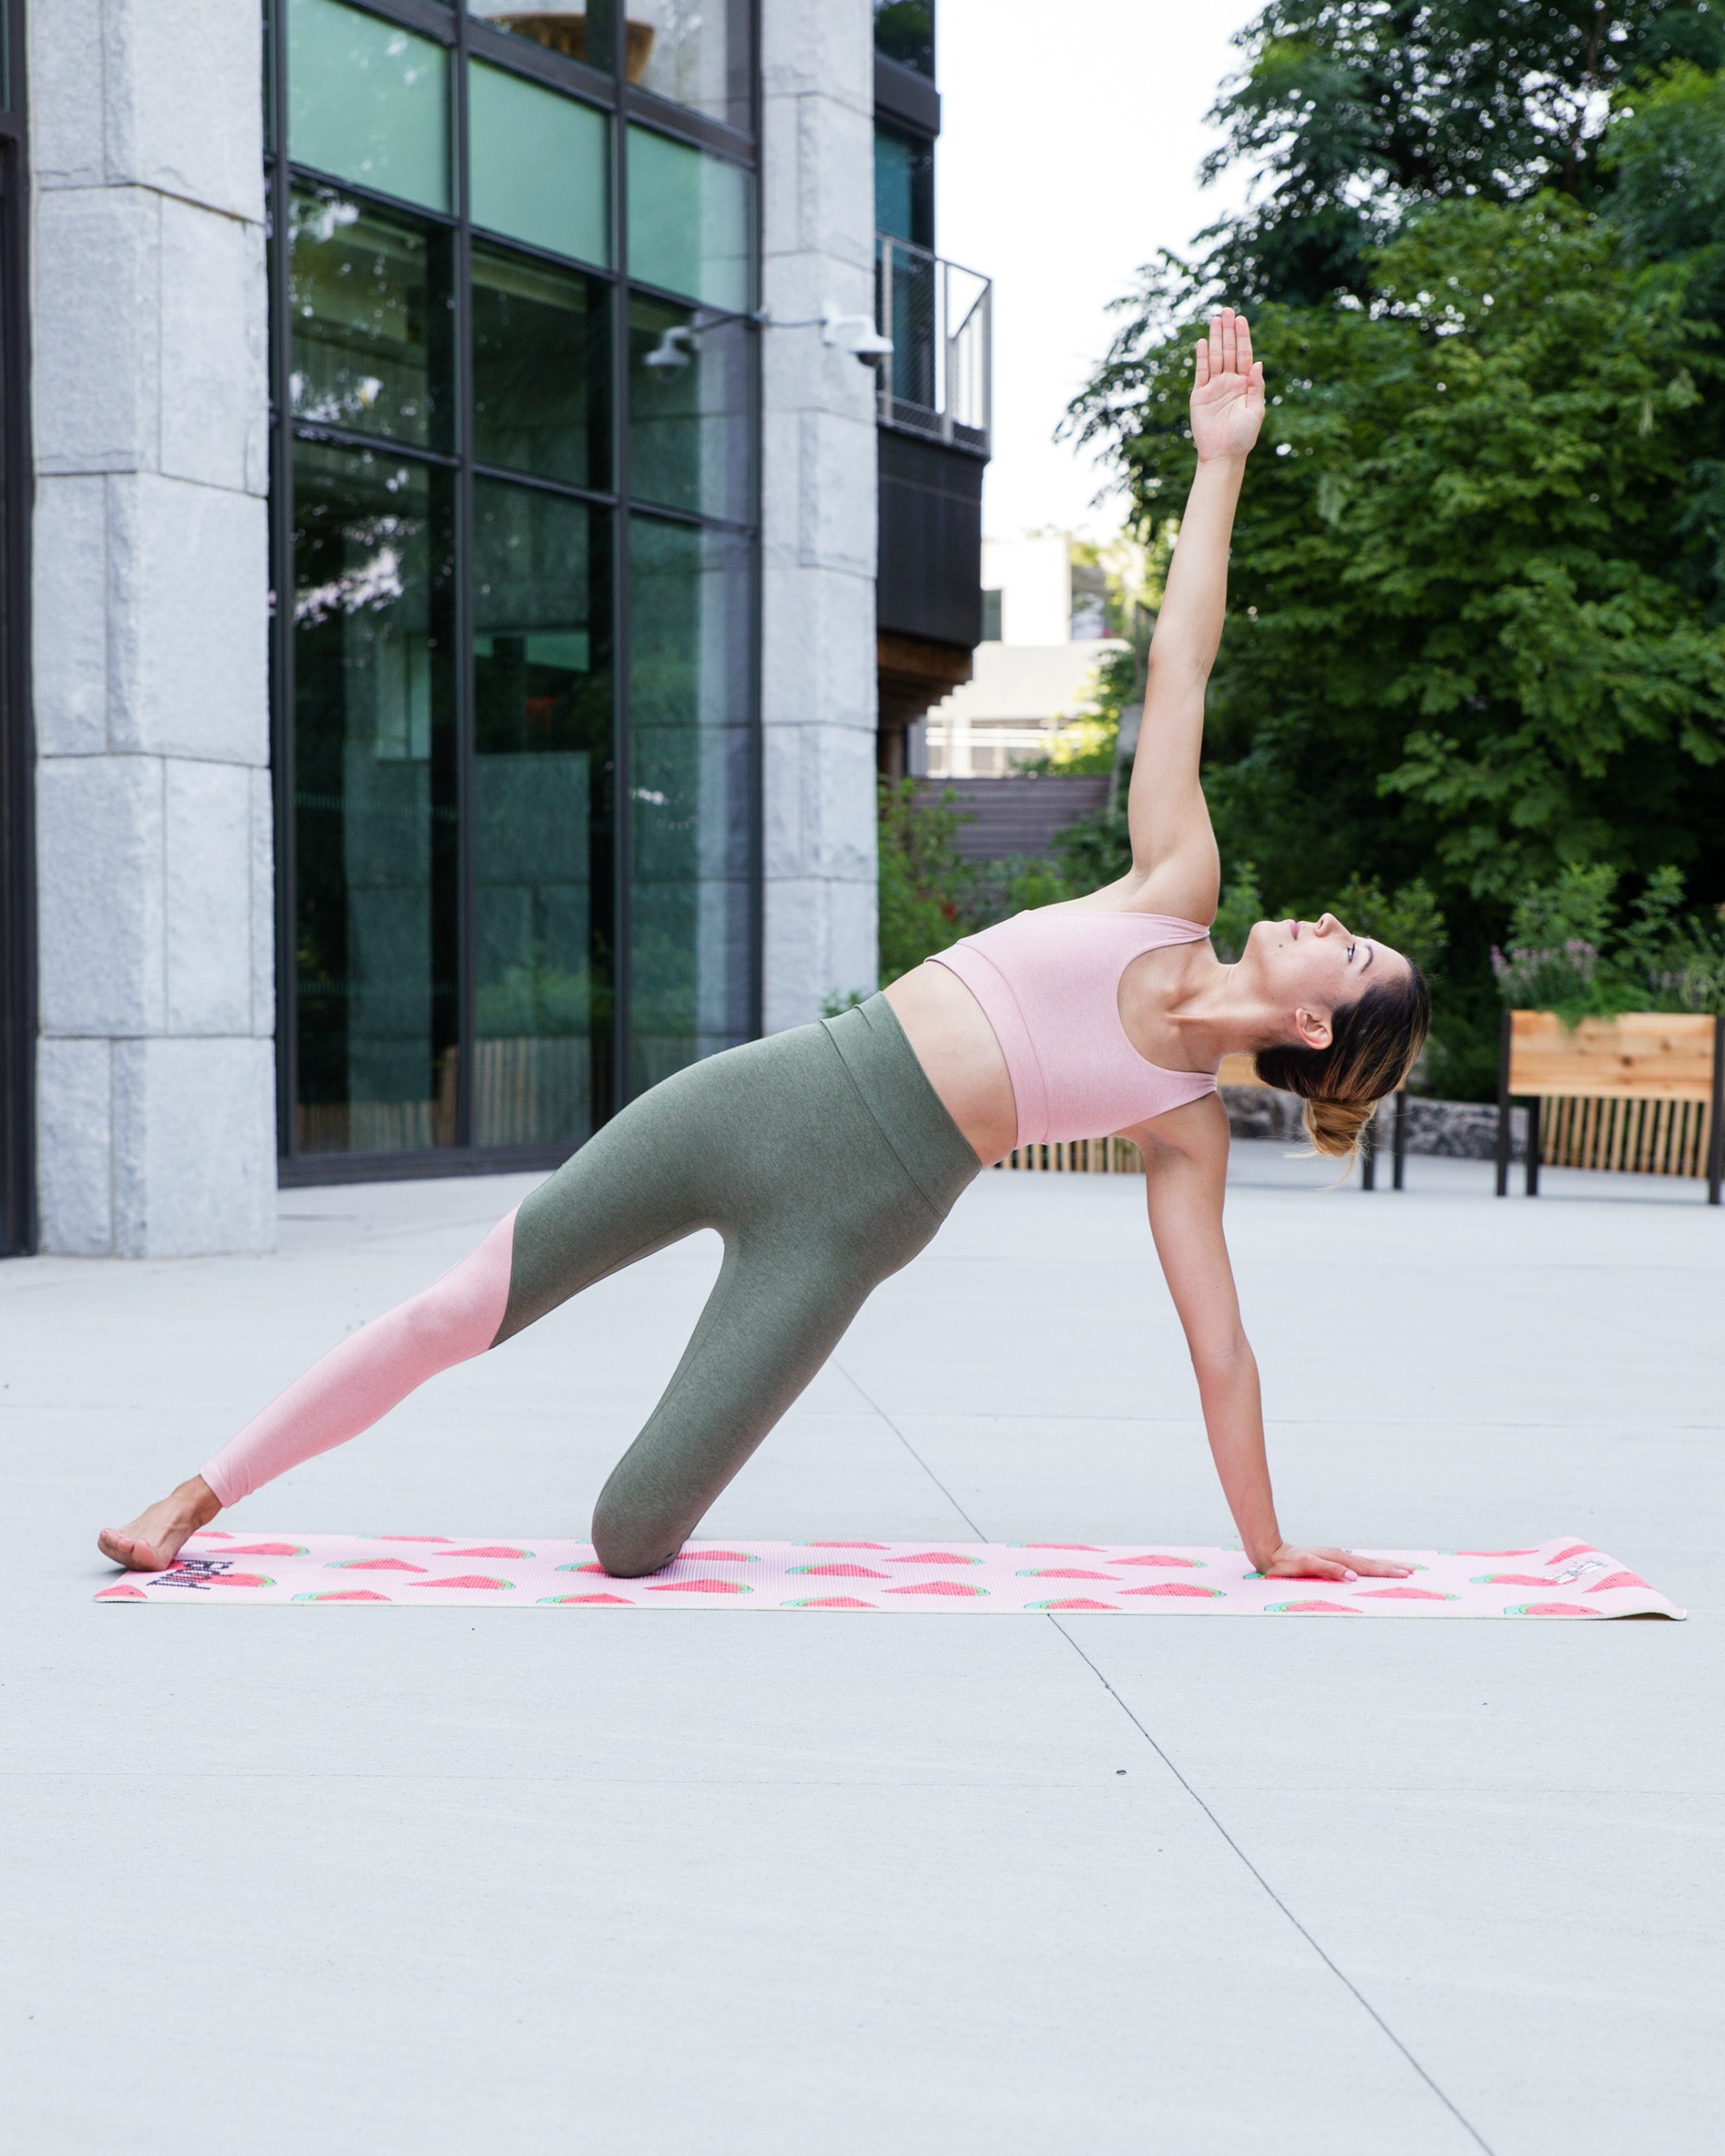
 If you find yourself struggling to hold side plank without experiencing some major muscle shaking and/or alignment mistakes, try this instead! Lower one knee onto the ground and focus on lifting your hips up. When you give your body more grounding contact points you’re able to take a lot of the pressure off your arms and reduce the strength your core needs to hold yourself up. Practice holding a modified side plank for 15 second intervals until you can build up the strength to hold it for a full minute.
Intermediate: Regular Side Plank
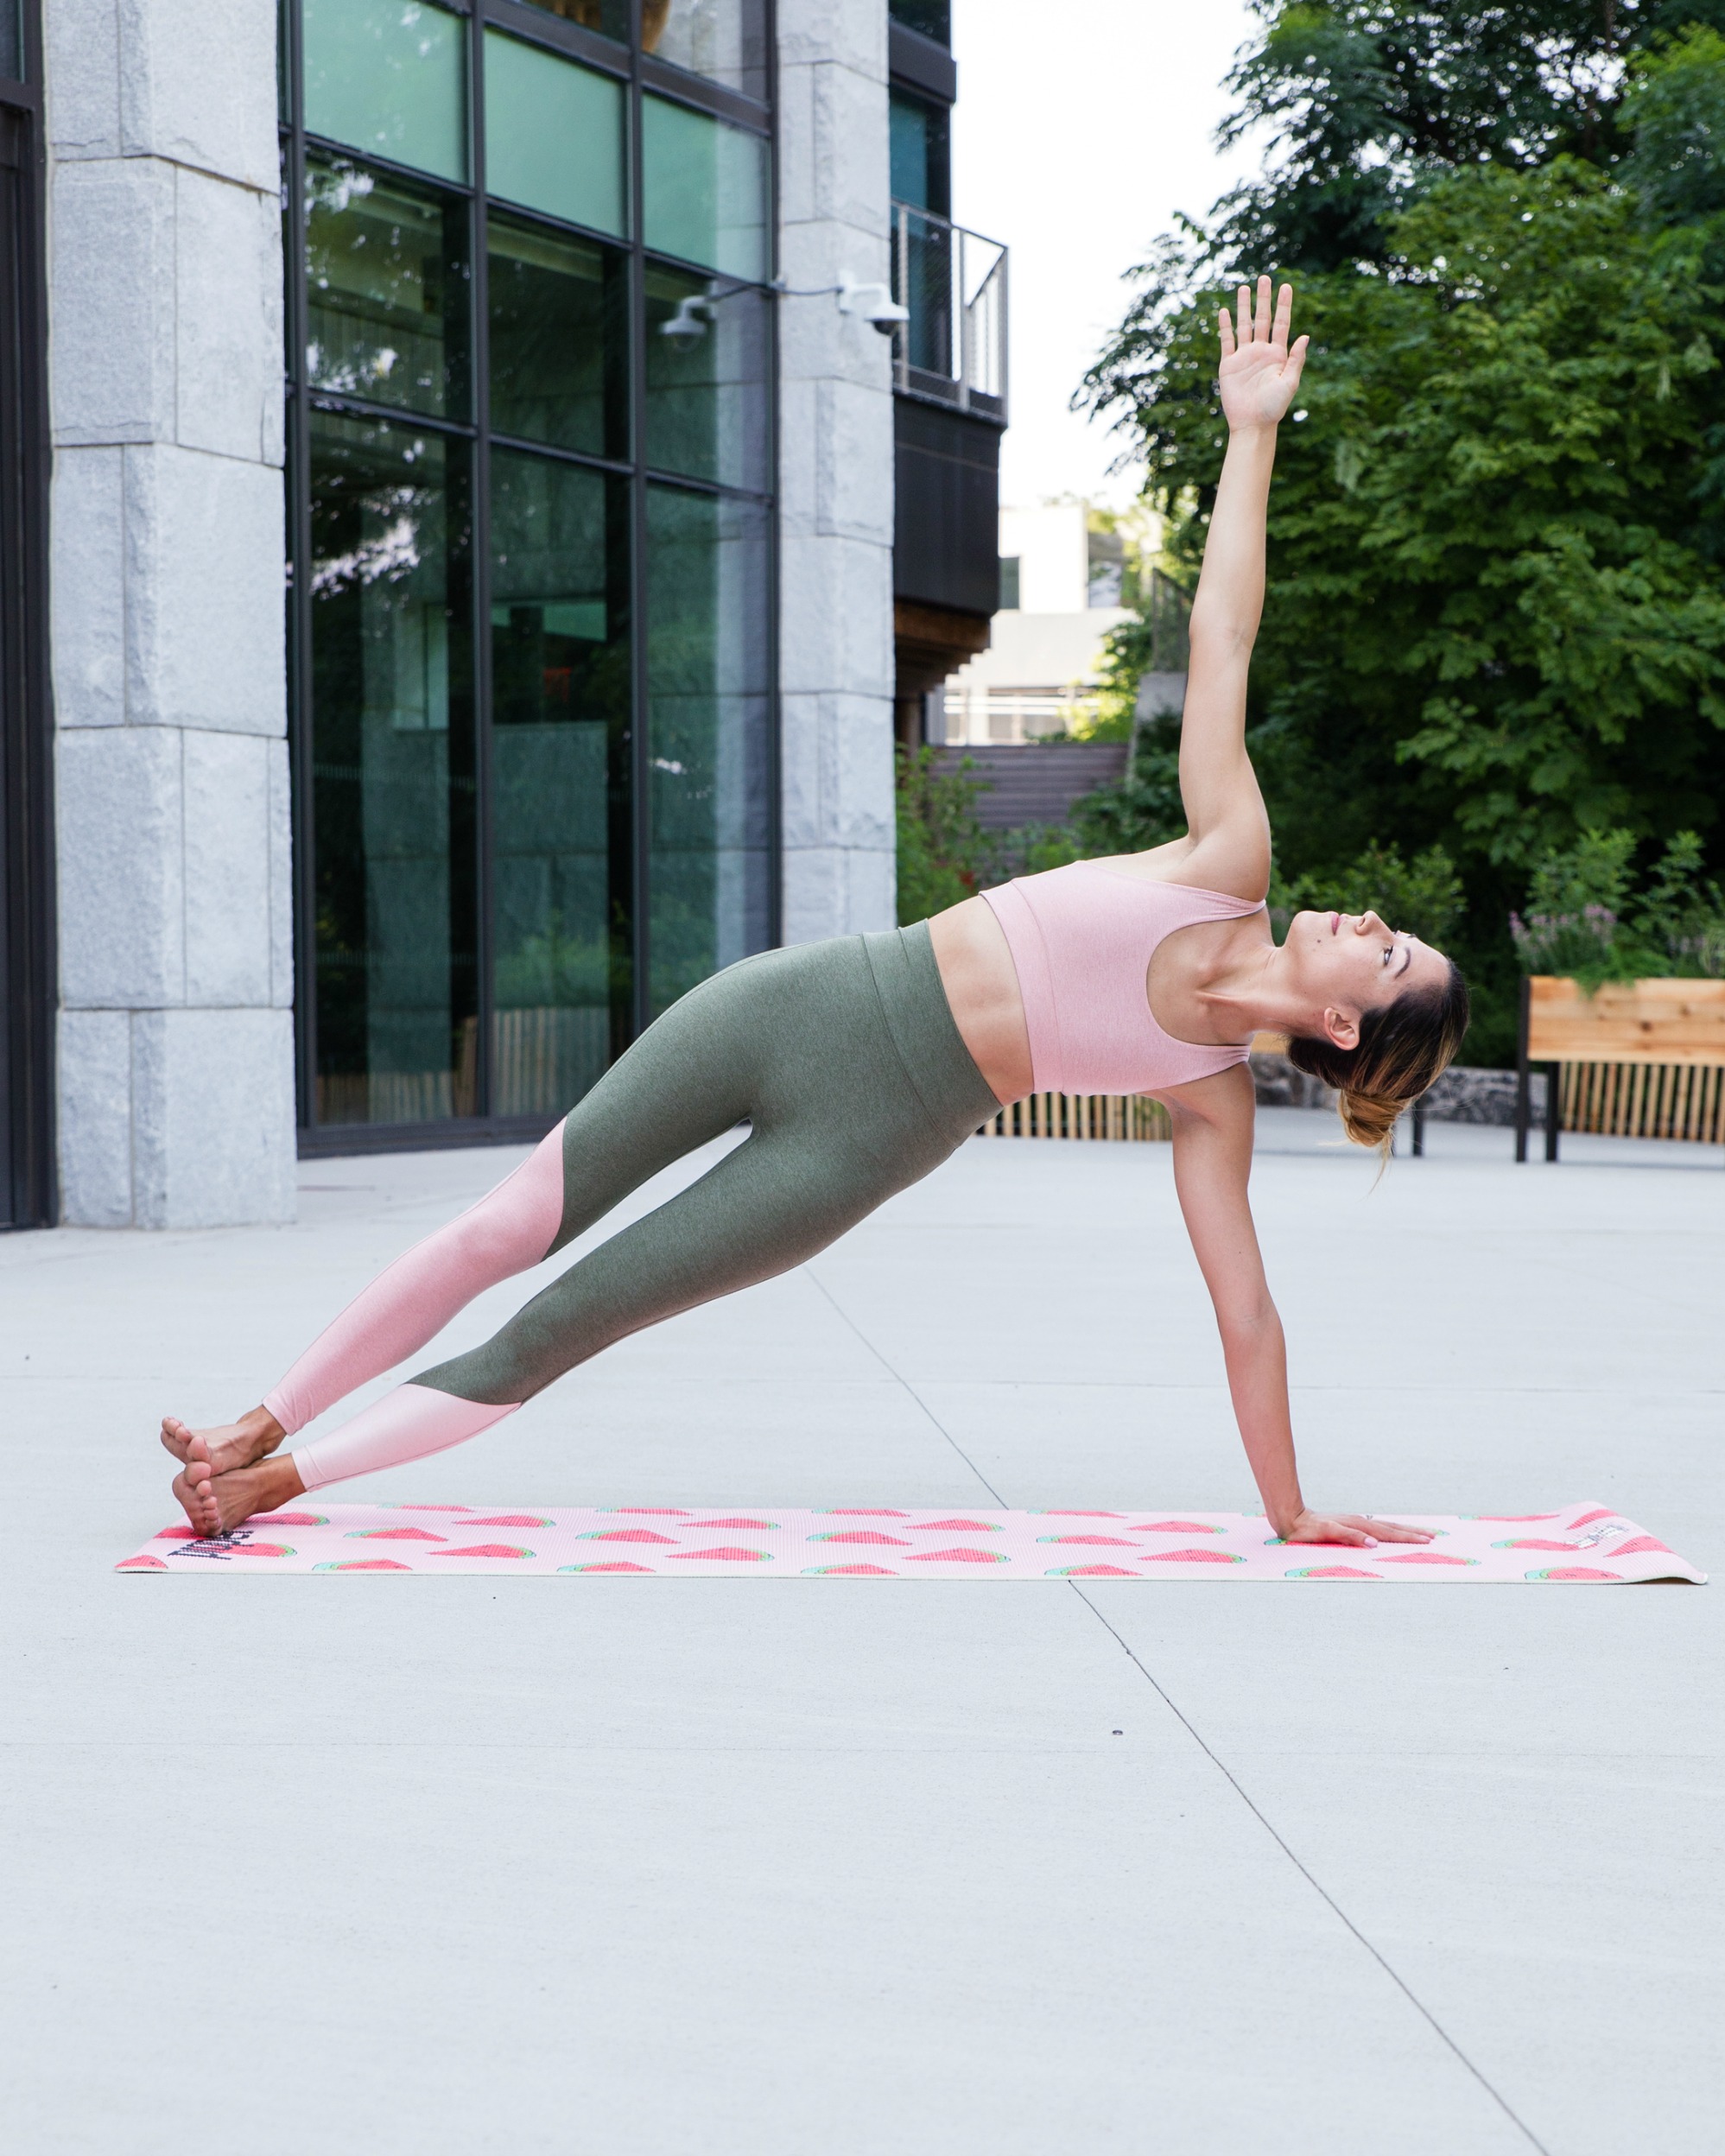
 Once you feel confident and comfortable in modified side plank you can transition to the full expression of the pose. Aside from the alignment tips I called out before, do your best to activate every muscle in your legs and core in order to take the pressure out of your arms. If looking up towards the sky or ceiling is too difficult for your balance or strains your neck, you can keep your gaze forward or even down towards the floor. Just be sure if you choose the latter that your top hip bone doesn’t start to roll forward too.
Advanced: One-legged Side Plank
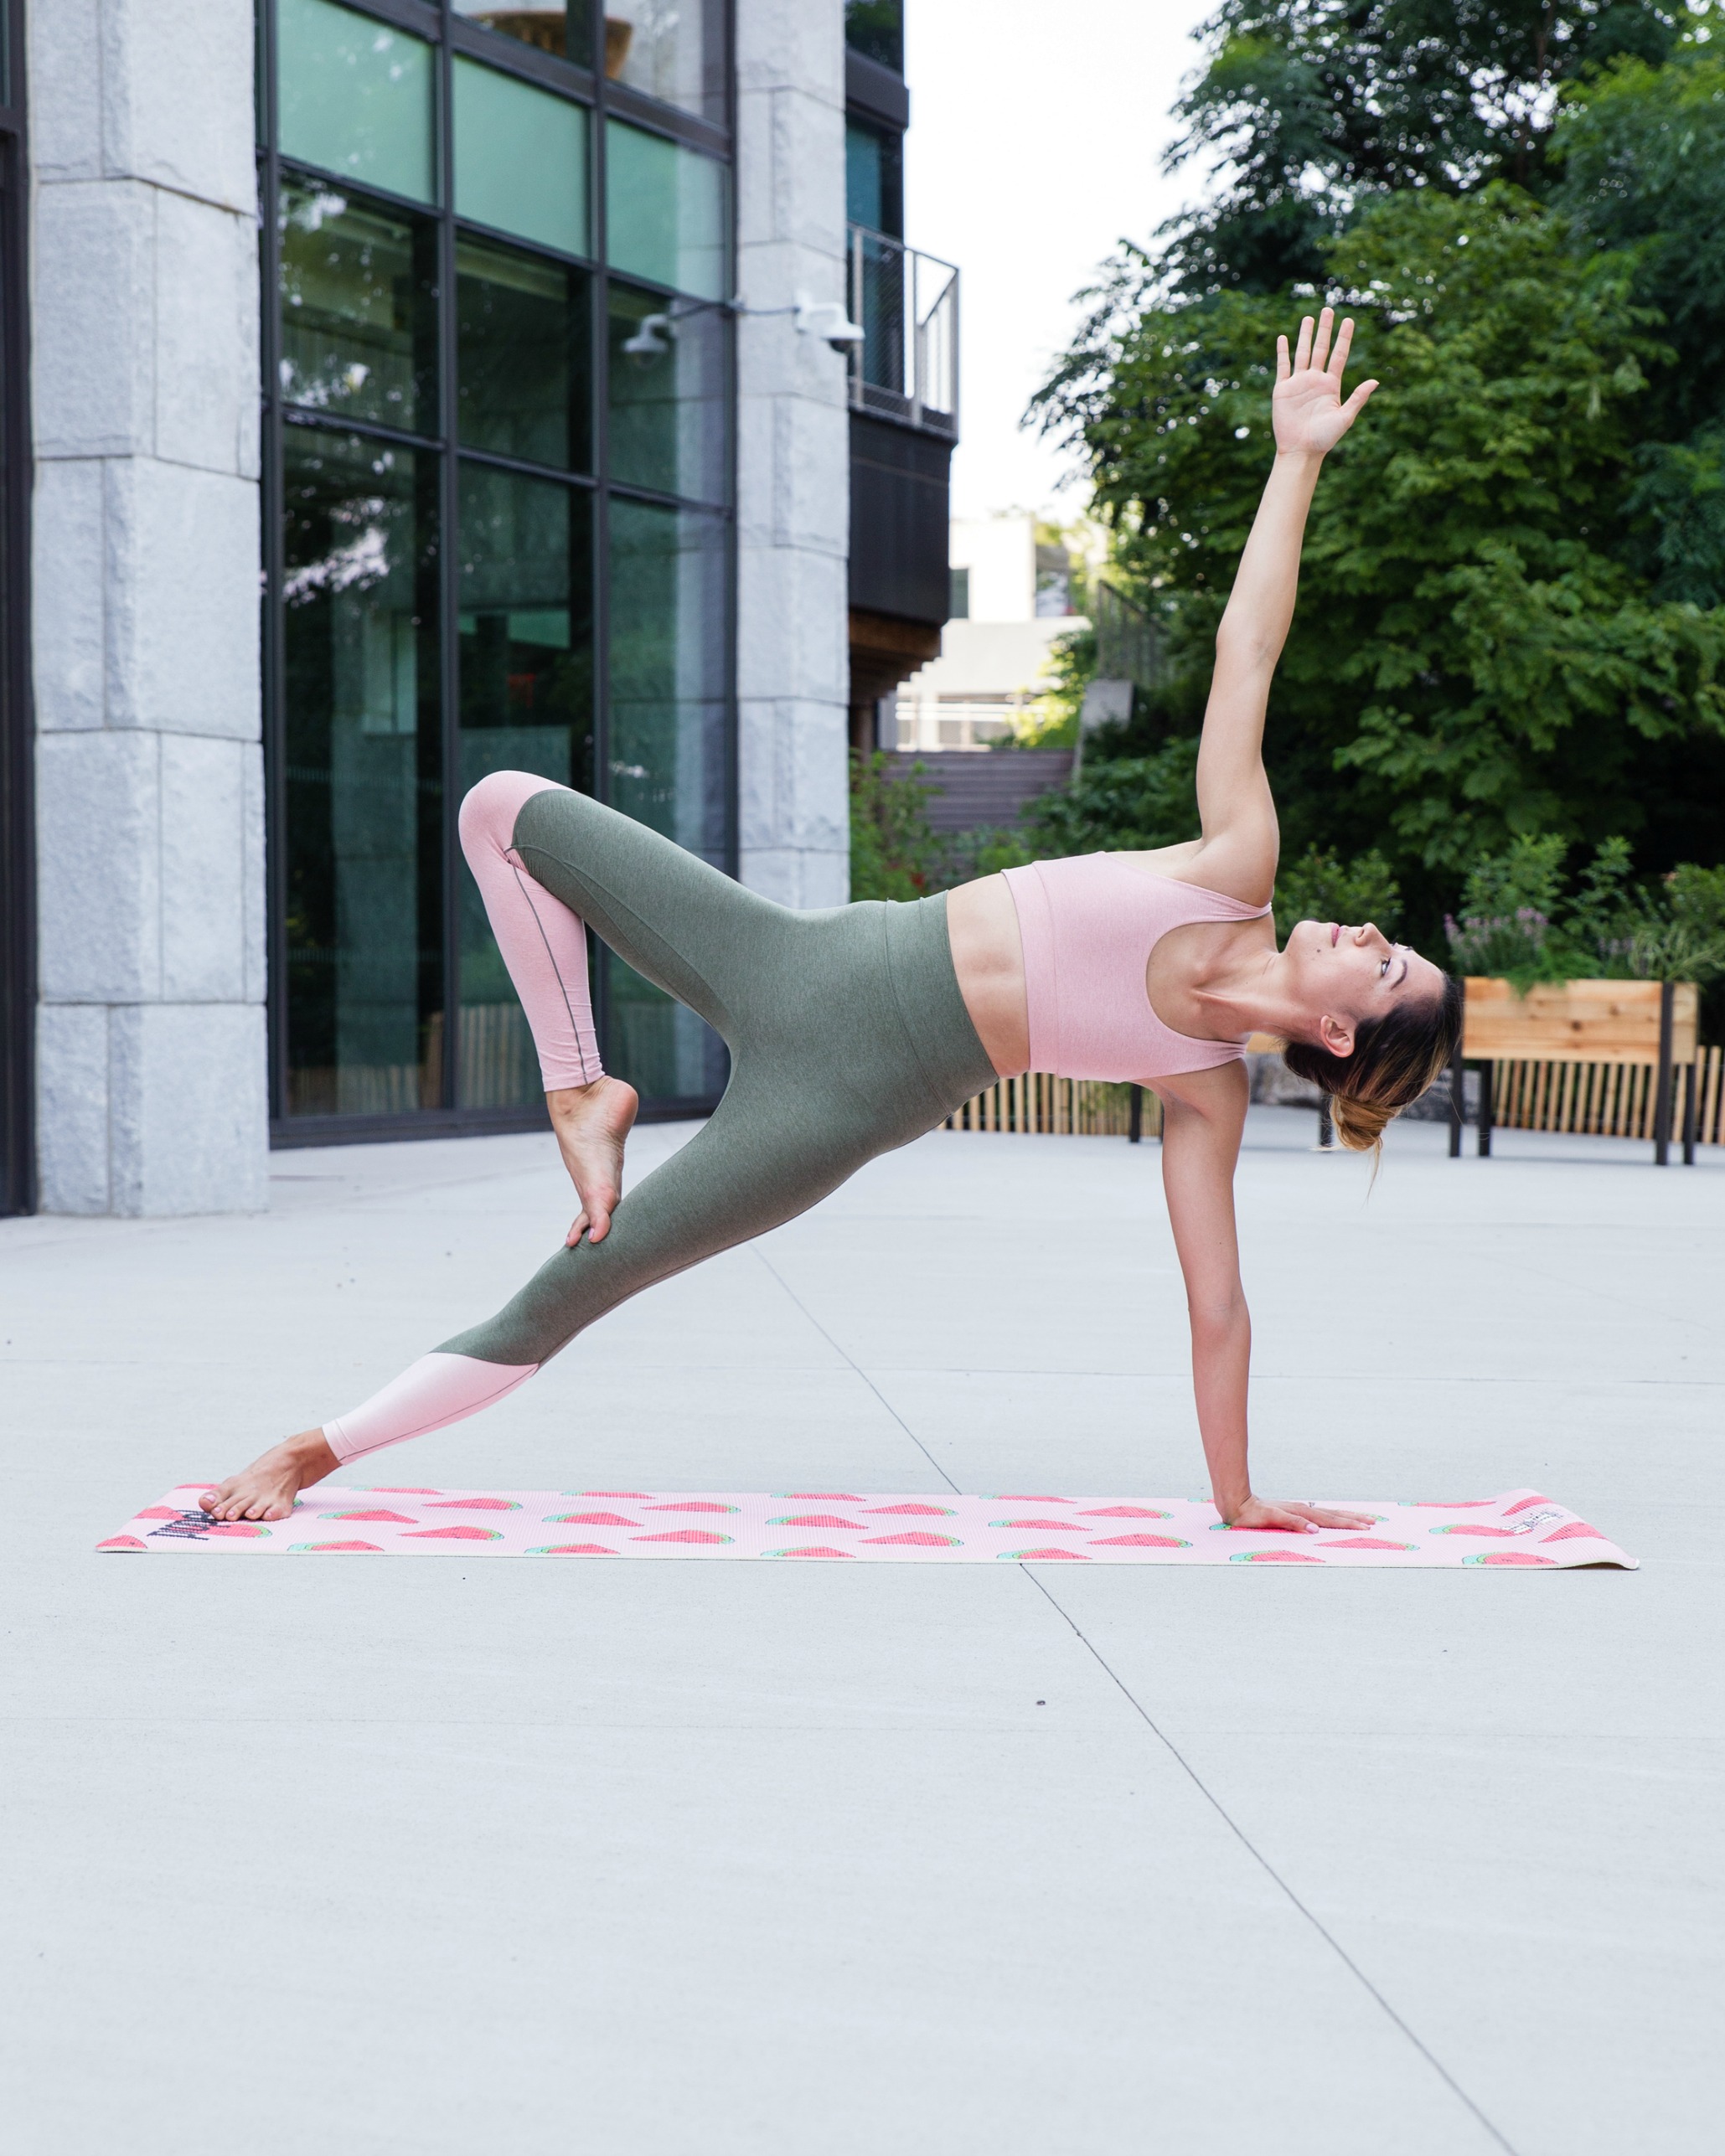
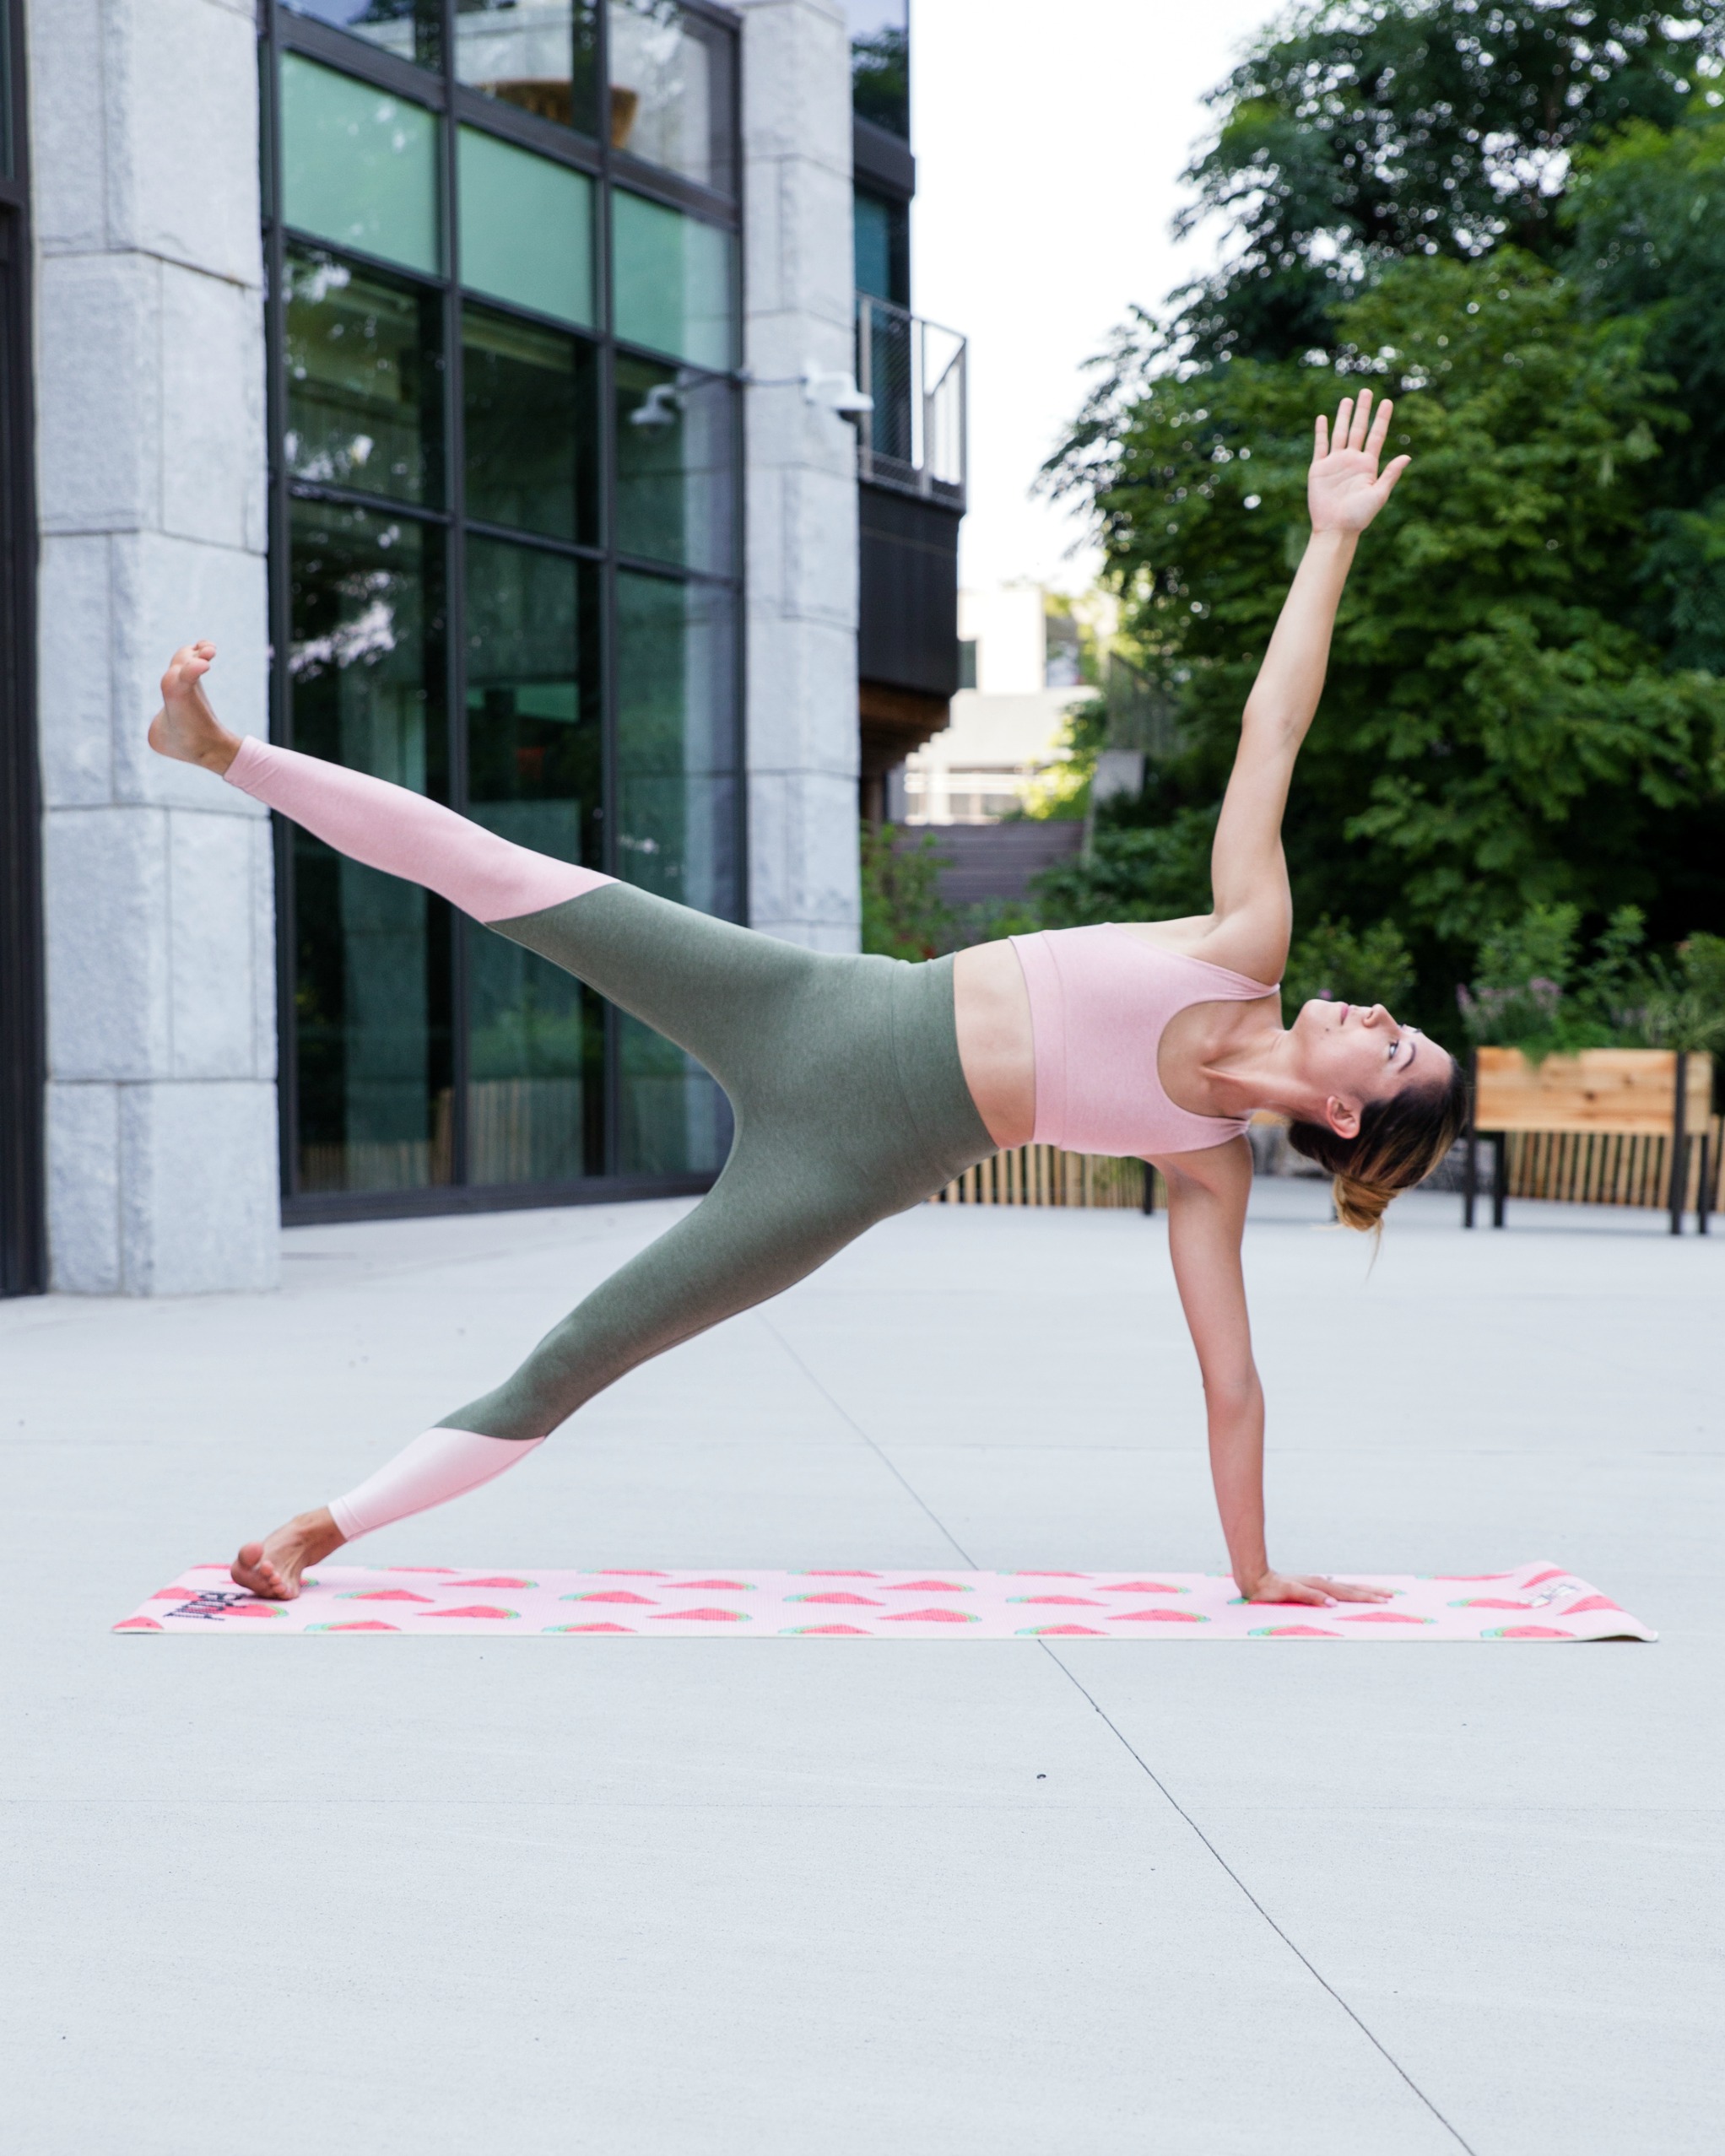
 If you’re particular bold and can hold a solid side plank with ease, it’s probably time you’ve graduated to a one-legged variation! If you choose to lift your top leg be sure to continue flexing both feet and push your hips up higher. Depending on your hip mobility and hamstring flexibility you may even play around with grabbing the big toe of your floating foot and stretching your leg directly above your body. You can also choose to mimic “tree pose” by bringing your top foot to rest right above your bottom knee while remaining lifted in side plank. I tend to take this variation the most since I find that it helps me maintain my balance.
There you have it! Three fun variations of side plank you can do by yourself, with friends or in a class. I hope you all found this to be helpful! Check back soon for more yoga tips coming your way.
With love and light,


Leave a Reply